Microsoft 365 for Bellevue University Students and Alumni
Microsoft 365 is a subscription service from Microsoft that provides Bellevue University students access to cloud services and software such as Outlook (Email), Word, Excel, PowerPoint, OneNote, OneDrive, and more.
Use the links below for more information about using Microsoft 365 at Bellevue University.
Access to Microsoft 365
● When do students receive access to Microsoft Outlook (Email) and other Microsoft 365 applications?
● How to access Microsoft 365 via Bruin Connect on the web
● How to access Microsoft Outlook (Email) on the web
System Requirements
● Microsoft 365 on the Web
● Microsoft 365 Installed on a Device
Installation Instructions
● Installation Guidance
● Microsoft 365 applications (Including Microsoft Outlook) on Windows or Mac
● Microsoft 365 applications (Including Microsoft Outlook) on mobile devices
Microsoft 365 Resources
● Microsoft Resources
⚬ Microsoft 365 Training - Step guides for Microsoft 365 applications.
⚬ Microsoft 365 Quick Starts - Quick start guides with Microsoft 365 application basics.
⚬ Microsoft 365 Cheat Sheets - Reference sheets for Microsoft 365 applications that provide students with quick access to keystrokes, menu commands, or other information needed to complete tasks.
⚬ Microsoft 365 Templates - Customizable templates for Microsoft 365 applications such as Word, Excel, PowerPoint, etc.
● Bellevue University Resources
⚬ Microsoft 365 LibGuide - A collection of Microsoft 365 books, e-books, videos, journal articles, etc. Available through the Bellevue University Library.
⚬ Need help learning to use Microsoft 365 applications? Peer tutors are available by appointment, both on campus and online, at no cost to you. Use the Academic Support Appointments page to schedule an appointment. If needed, use the How to Schedule a Tutor Session LibGuide for information and support on scheduling.
Forwarding Email
● Forward Microsoft Outlook 365 Email to a personal email account
Losing Access to Microsoft 365
● Removal of Microsoft 365 applications and Microsoft Outlook (Email)
⚬ Preparing to lose access to Microsoft 365
⚬ Degree Completion
⚬ Early Departure
Technical Assistance
Contact Bruin Support Services for technical assistance.
Access to Microsoft 365
When do students receive access to Microsoft Outlook (Email) and other Microsoft 365 applications?
Bellevue University students receive access via a "Welcome" email to a school-sponsored Microsoft Outlook Email Account after being admitted to Bellevue University. This email serves as your official address for all Bellevue University digital communications. You're welcome to share this email with your fellow students. Access to the rest of the Microsoft 365 applications (Word, Excel, PowerPoint, etc.) is granted to students seven days before the first day of class.
How to access Microsoft 365 via Bruin Connect on the web
Students use Bruin Connect to access Microsoft 365 applications, including Microsoft Outlook for student email. Bruin Connect is the Single Sign-On (SSO) portal that allows students to access University websites and applications securely.
● Check out the video "How to access Microsoft Outlook and Microsoft 365 applications via the Web" for guidance on logging into your Microsoft 365 account, or follow the steps below:
● If you are signed into a personal Microsoft 365 account, use the instructions for "Switch between your Microsoft accounts" to sign into a new account.
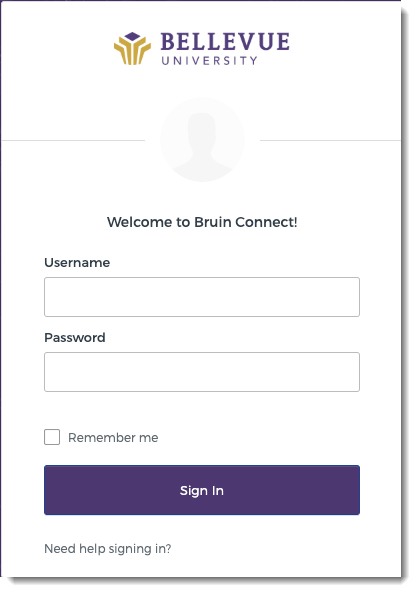
1. Go to https://bruinconnect.bellevue.edu.
2. On the Bruin Connect window, enter your username (Student ID number) and Bruin Connect password. Then select "Sign In."
3. Next, finish logging in using your Multi-Factor Authentication (MFA) method. You selected your MFA method when you set up your Bruin Connect account.
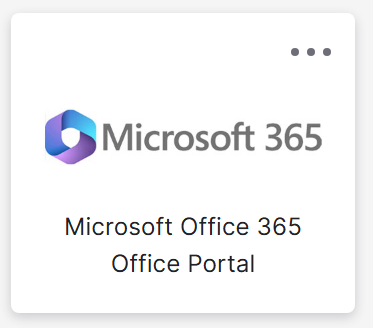
4. Select "Microsoft 365."
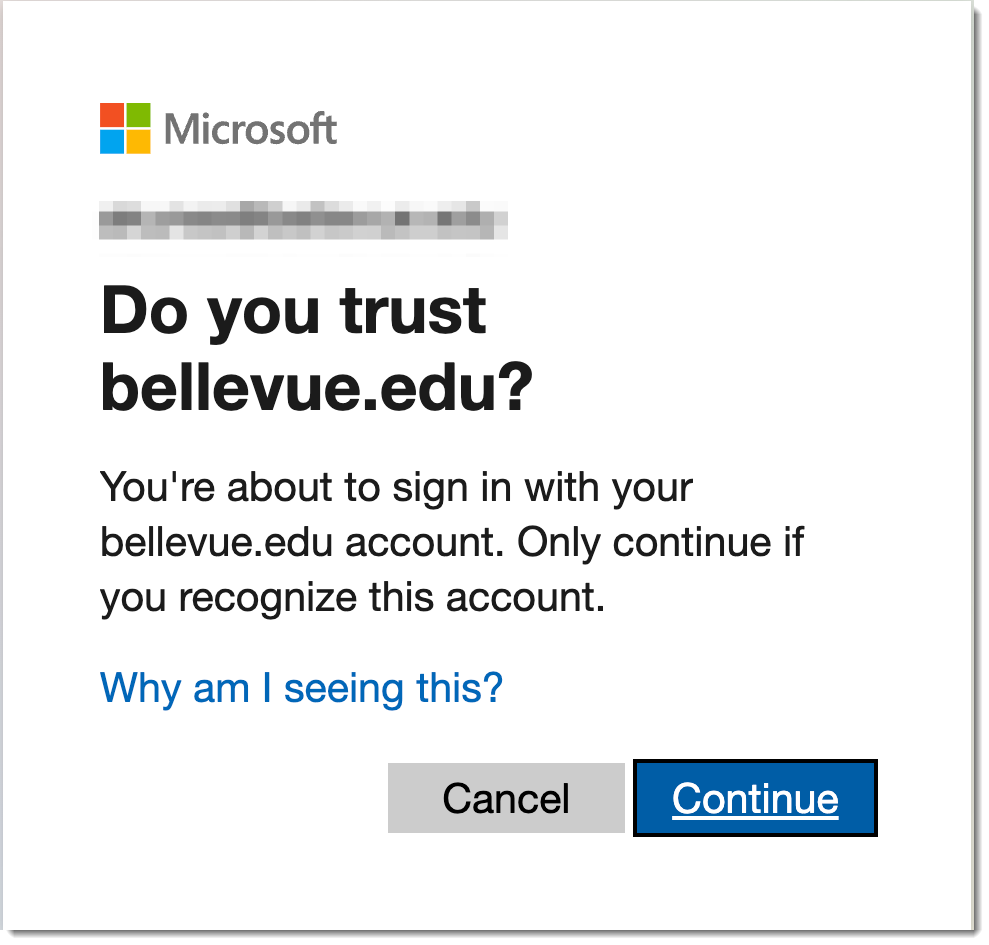
5. If you receive the "Do you trust bellevue.edu?" window, select "Continue."
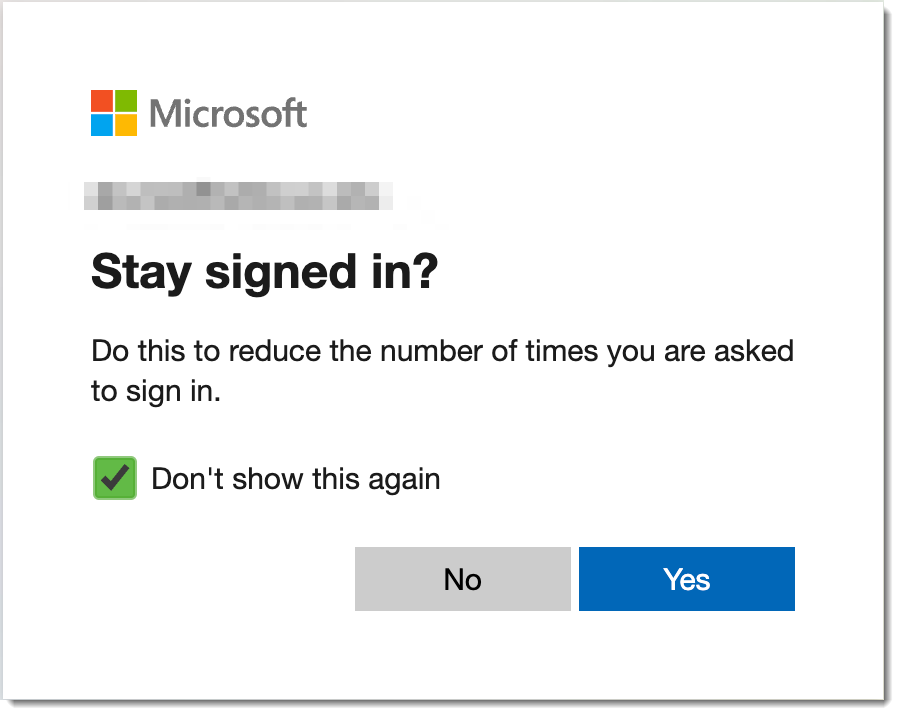
6. When prompted with "Stay signed in?", select "Yes" if using your own device; otherwise, choose "No." To avoid seeing this message again, check the "Don't show this again" box.
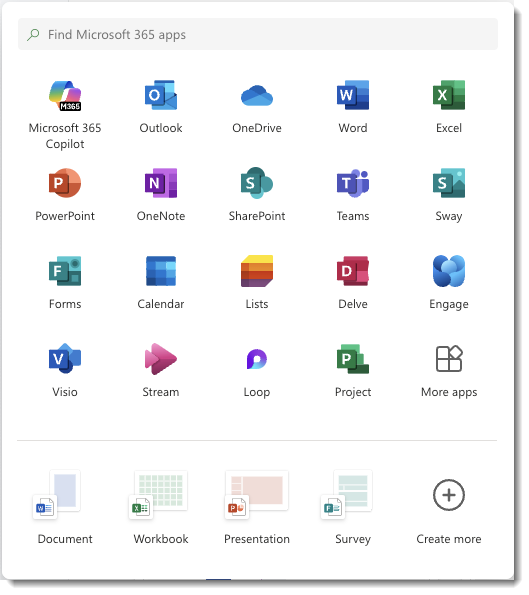
7. Once the Microsoft 365 home page opens, use the app launcher  in the upper-left corner of the page to access Microsoft 365 web-based applications.
How to access Microsoft Outlook (Email) on the web
1. Use these instructions to access Microsoft 365 via Bruin Connect on the web.
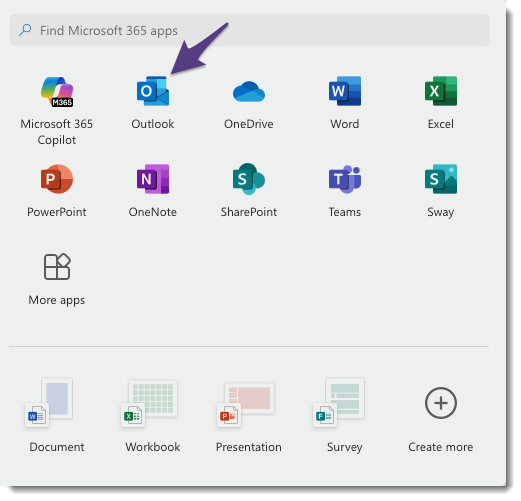
2. When the Microsoft 365 home page opens, use the app launcher  in the upper-left corner of the page to open Outlook.
System Requirements
Microsoft 365 on the Web
● Refer to the Technical Requirements documentation for Internet Browser requirements for Microsoft 365 on the web.
● To access Microsoft 365 on the web, use the How to access Microsoft 365 via Bruin Connect on the web instructions.
Microsoft 365 Installed on a Device
● Bellevue University students can download and install Microsoft 365 applications on their personal computers or mobile devices.
● Refer to the Microsoft 365 System Requirements documentation for Windows, Mac, and mobile.
● Please note not all Microsoft 365 applications are available on all computer platforms/operating systems.
⚬ Microsoft 365 applications cannot be installed on Chromebooks or Linux.
⚬ Microsoft Access and Microsoft Publisher are Windows only.
Installation Instructions
Installation Guidance
Microsoft 365 applications may be accessed through a web browser or installed on a device. To determine which version to use, please review the chart below.
|
Feature
|
Web Browser Version
|
Downloaded & Installed Version
|
|
Offline Access
|
No
|
Yes
|
|
Real-Time Collaboration
|
Yes
|
Limited
|
|
Advanced Features
|
Limited, basic features are available; some advanced features are not supported
|
Yes, full access to advanced features like macros in Excel
|
|
Availability
|
Accessible from any device
|
Restricted to installed device
|
|
Automatic Updates
|
Yes
|
No (manual updates required)
|
|
User Interface
|
User-friendly, simple design, but less customizable
|
Offers a more robust and customizable interface
|
|
Performance
|
Performance may lag with large files due to browser limitations
|
Generally faster, especially with large files
|
|
Add-ins and Extensions
|
Limited add-in support compared to the desktop version
|
Extensive support for add-ins to enhance functionality
|
|
File Storage
|
Files are stored in OneDrive automatically
|
Files are saved locally and can be backed up to OneDrive
|
Microsoft 365 applications (Including Microsoft Outlook) on Windows or Mac
When logging into Microsoft 365, use your Student ID number and Bruin Connect password. You will be prompted to use your Multi-Factor Authentication (MFA) method during the login process. You selected your MFA method when you set up your Bruin Connect account.
1. Access Microsoft 365 through Bruin Connect by following these instructions: How to access Microsoft 365 via Bruin Connect on the web.
2. Then, use Microsoft's instructions under "You signed in with a work or school account" to Download and install or reinstall Microsoft 365 on a PC or Mac.
3. Once the Microsoft 365 applications are installed, use the set-up instructions below. When logging into Microsoft 365 applications, use your Student ID number and Bruin Connect password. You will be prompted to use your Multi-Factor Authentication (MFA) method during the login process. You selected your MFA method when you set up your Bruin Connect account.
● Sign in to Microsoft 365 Windows and Mac
● Add an email account to Outlook for Windows
● Add an email account to Outlook for Mac
Microsoft 365 applications (Including Microsoft Outlook) on mobile devices
When logging in to Microsoft 365 applications, use your Student ID number and Bruin Connect password. You will be prompted to use your Multi-Factor Authentication (MFA) method during the login process. You selected your MFA method when you set up your Bruin Connect account.
● Install and set up Office on iPhone or iPad
● Install and set up Office on Android
Forward Microsoft Outlook 365 Email to a personal email account
Email forwarding is a feature that automatically redirects emails from one account to another. Check out the video "How to Foward Microsoft Outlook 365 Email" for guidance or follow Microsoft's instructions to Turn on automatic forwarding in Outlook to configure the service.
Losing Access to Microsoft 365
Removal of Microsoft 365 applications and Microsoft Outlook (Email)
Bellevue University affiliation changes will impact access to Microsoft 365 applications and Microsoft Outlook (student email). Affiliation changes occur due to degree completion or early departure from the University.
Preparing to lose access to Microsoft 365
Back up all important documents, emails, spreadsheets, presentations, etc. to a local storage location or cloud service.
Degree Completion
● Microsoft 365 applications (except web-based Outlook) - Access will be removed 120 days after your last day of class.
● Microsoft Outlook - As a benefit of being a Bellevue University student, conferred alumni retain indefinite access to web-based email accounts while actively used.
⚬ If your password has not been changed for 27 months, then your email account will be removed.
⚬ As an alum, you will receive reminder emails 30 days and 24 hours before account removal.
⚬ If you missed your reactivation window and your account has been removed, you may contact Bruin Support Services to reactivate your email account. Please note that account information, such as messages and contacts, may not be recoverable more than three weeks after deletion.
Early Departure
● Microsoft 365 applications (except web-based Outlook) - Access will be removed 120 days after your last day of class if you are not enrolled in future courses.
● Microsoft Outlook - You will lose access to your web-based, University-sponsored email account after 27 months of no enrollment. While your previous emails will no longer be available, if you re-enroll at Bellevue University, your email address will be reactivated.
To provide feedback on this article, contact Bruin Support Services!


